Number to Money counter with CircuitPython on Tiny2040

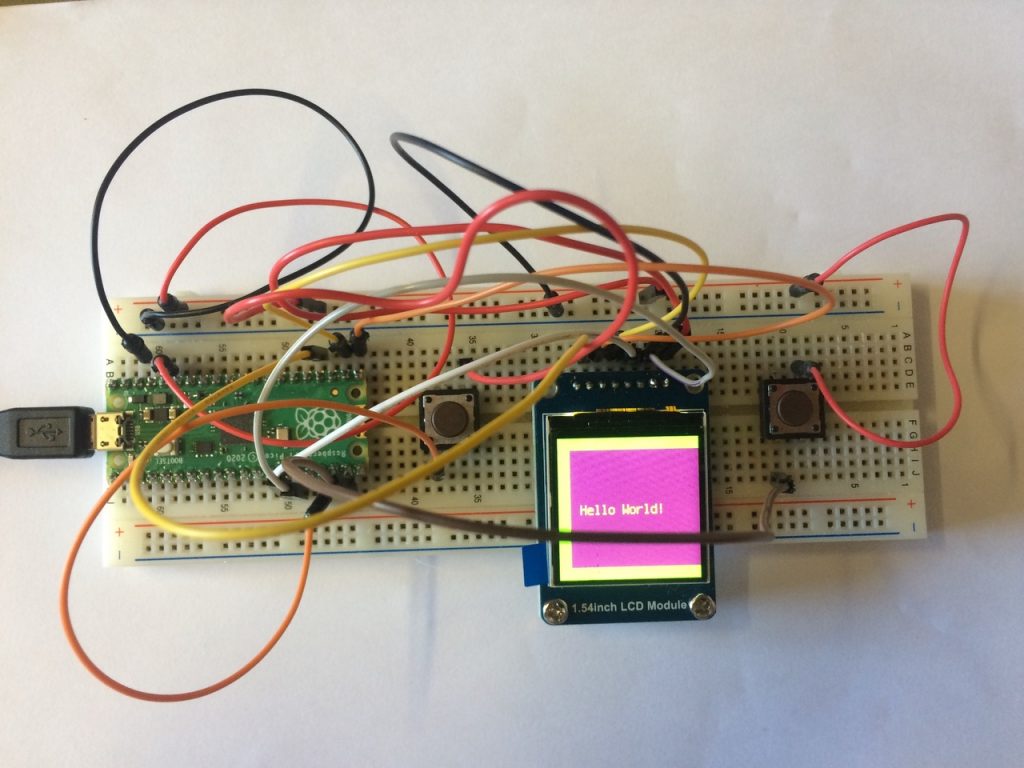
Phil’s working on some interactive electronics for a project, and he was asked to create a counter that could show how much money you could make from 20p recycling deposits using CircuitPython & a Tiny2040

Phil’s working on some interactive electronics for a project, and he was asked to create a counter that could show how much money you could make from 20p recycling deposits. The counter + button in a #circuitPython was easy to implement (see other “weekly project” posts for a “how to”) – But playing an MP3 file has become incredibly easy with CircuitPython, having the library / code built in to the system! so no need to add a new library or even extra electronics to your CircuitPython Powered Board of Choice! (We’ve been using the Raspberry Pi #Pico & the Pimoroni #Tiny2040 )

Below is a short video of the Tiny2040 + button + mono speaker counting up when the counter value is sent to a function that converts it to a list of MP3’s to play.

Tiny2040 + Button + Mono Speaker playing MP3s

Phil took a while to create an algorithm to create a “sentence” that stitches together the necessary files needed… using small MP3 files saved to the 8mb Tiny2040. The numbers 1 to 20 were recorded, then, 30, 40, 50, 60, 70, 80 & 90. Phil also created with a speech synthesiser, “pence”, “and”, “pound”, “pounds” – which can then create any number up to 999 (Thousands + were unnecessary at the moment!) When it reaches “£100” – a clip saying “you’ve made a lot of money, perhaps donate it to charity?” is spoken, then the counter resets !

The code below is Phil’s “Robust” programming… which works nicely, and can even cope with increments of 5p – but single counts break it (his “logic” should be improved – but the 5 / 10 / 20p increments work!

# SPDX-FileCopyrightText: 2020 Jeff Epler for Adafruit Industries
# Custom Code by Philip Thompson / Digital Maker CIC
# SPDX-License-Identifier: MIT

"""CircuitPython Essentials Audio Out MP3 """
import board
import digitalio
from time import sleep

from audiomp3 import MP3Decoder

try:
    from audioio import AudioOut
except ImportError:
    try:
        from audiopwmio import PWMAudioOut as AudioOut
    except ImportError:
        pass  # not always supported by every board!

button = digitalio.DigitalInOut(board.GP0)
button.switch_to_input(pull=digitalio.Pull.DOWN)


audio = AudioOut(board.A0)
# You have to specify some mp3 file when creating the decoder
mp3 = open("none.mp3", "rb")
decoder = MP3Decoder(mp3)
decoder.file = mp3
audio.play(decoder)

# calculate money from number stuff

def convertArrayToString(a):
    return(' '.join(map(str, a)))

def last_digit(num):
    if 10 < num < 20:  # it's a teen!
        return [str(num)+".mp3"]
    else:
        last_digit_unsigned = abs(num) % 10
        return [str(num)+".mp3"] if last_digit_unsigned == 0 else [str(num)[0]+"0.mp3", "5.mp3"]

# used in making a sentence of the value of the number
ppp = ['pence.mp3']
lb = ['pound.mp3']
lbs = ['pounds.mp3']

def numToMoney(v):
    if v < 20:  # unique "quick returns"
        return([(str(v)+".mp3")] + ppp)
    elif (v > 9999):  # no one will make this much money from recycling!?
        return(["too_much.mp3"])
    elif (15 < v < 100):  # just pence
        return(last_digit(v) + ppp)
    else:
        tupV = str(v)
        if len(tupV) == 3:
            if (tupV[0] == "1"):
                lll = lb
            else:
                lll = lbs
                    
            if (tupV[1] + tupV[2] == "00"):  # flat £                
                return([tupV[0]+".mp3"] + lll)
            else:
                if tupV[1] != "0":  # not a "x pounds tens pence
                    return([tupV[0]+".mp3"] + lll + ["and.mp3"] + last_digit(int(tupV[1]+tupV[2]))+ppp)
                else:
                    return([tupV[0]+".mp3"] + lll + ["and.mp3"] + ["5.mp3"] + ppp)
        else:
            if (tupV[1] + tupV[2] + tupV[3] == "000"):  # flat £
                return([tupV[0]+"0.mp3"] + lbs)
            else:  # complicated number x pounds y (z) pence
                tA = tupV[0] + tupV[1]
                tB = tupV[2] + tupV[3]
                if (tB == "00"):
                    s = [tA+".mp3"] + lbs
                elif (tB == "05"):
                    s = [tA+".mp3"] + lbs + ["and.mp3"] + ["5.mp3"] + ppp
                else:
                    s = [tA+".mp3"] + lbs + ["and.mp3"] + last_digit(int(tB)) + ppp
                return(s)


# res = arr[::-1] #reversing using list slicing
def money(n):
    moneyArray = []
    moneyArray.extend(numToMoney(n))
    #print(moneyArray)
    for w in moneyArray:
        decoder.file = open(w, "rb")
        audio.play(decoder)
        #print("playing", w)
        while audio.playing:
            sleep(0.1)

counter = 0

while True:
    
    while audio.playing:
        pass
    
    if button.value:
        counter += 20
        money(counter)
        sleep(0.3)
        if counter > 9999:
            counter = 0

The Button is in Pin GP0 & the Speaker Signal Out is in pin A0 … you can’t get simpler! Amazing! MP3 files played with CircuitPython on a Tiny2040 – Done!

Week Seven: OOP Asteroids and tone detection

Working (but slow) Sound Controlled “Asteroids” with PDM mic on Raspberry Pi Pico by Digital Maker CIC

Using Martin’s Ada Fruit FFT experiment (week 5) and Phil’s OOP Asteroids, we started to get some sound controlling the Spaceship!

This week has proven to be quite a challenge.

We wanted to combine the knowledge gained previously from Phil’s Asteroids and Martin’s FFT code to make a game controlled by sound. Phil continued his work on the Asteroids and control of a small rocket capable of firing projectiles.
Martin looked at isolating individual tones, these could then be used for the control of the rocket. Three tones were needed for, boost, rotate and fire. He chose an online tone generator https://www.szynalski.com/tone-generator/ to generate the three required tones.

A tutorial https://learn.adafruit.com/light-up-reactive-ukulele/software found online was particularly helpful. This led to the following CircuitPython code:

"""FFT Tone detection
to work with ulab on Raspberry Pi Pico"""

from time import sleep
import audiobusio
import board

from ulab import numpy as np
from ulab.scipy.signal import spectrogram
import array

#---| User Configuration |---------------------------
SAMPLERATE = 16000
SAMPS = 256

fft_size = 256

# ============== make the PDM mic object =============== #

mic = audiobusio.PDMIn(board.GP27_A1, board.GP0,
                                sample_rate=SAMPLERATE, bit_depth=16, startup_delay=0.05, mono=True)

#use some extra sample to account for the mic startup
samples_bit = array.array('H', [0] * (fft_size+3))

# Main Loop
def main():
    max_all = 10
    while True:
        mic.record(samples_bit, len(samples_bit))
        samples = np.array(samples_bit[3:])
        spectrogram1 = spectrogram(samples)
        # spectrum() is always nonnegative, but add a tiny value
        # to change any zeros to nonzero numbers
        spectrogram1 = np.log(spectrogram1 + 1e-7)
        spectrogram1 = spectrogram1[1:(fft_size//2)-1]
        peak_idx = np.argmax(spectrogram1)
        peak_freq = peak_idx * 16000 / 256 / 2
        #print((peak_idx, peak_freq, spectrogram1[peak_idx]))
        
        if peak_freq > 1000 and peak_freq < 1150:
            print("Fire")
        elif peak_freq > 500 and peak_freq < 550:
            print("Rotate")
        elif peak_freq > 225 and peak_freq < 275:
            print("boost")
        else:
            print(peak_freq)
        sleep(0.1)

main()

The code worked reasonably well so the next task was to incorporate it into Phil’s asteroid code.

This proved quite challenging as once the two were combined together. The frequency returned by the microphone was always 0.0.

Various methods were tried, adding the Mic as object, calling it as a function and directly adding it to the main code.py. Adding it to directly to code.py was the final stage but still wasn’t providing the desired results.

Next we resorted to commenting out elements of code, the final conclusion was that some of the print statements were causing timing errors that caused the spectrogram to return values of 0.0. We aren’t quite sure why but once these were reduced to a minimum the code started working.

The final code with libraries is available as a zip file here.

It’s quite slow – the FFT calculations might be pushing the Pico to the edge of its computing power! Phil is exploring how to hone the OOP too, to see if he can eek out a few more milliseconds

DM CIC’s Martin & Phil become Pi Accredited Educators!

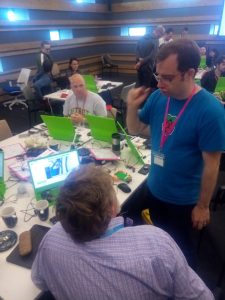
Early in June, Digital Maker CIC’s Martin & Phil both attended the amazing Raspberry Pi #Picademy – a two day event, training digital makers / teachers / educators.

The first day gave the attendants insight into several GPIO (General Purpose Input/output) devices & addons for the Raspberry Pi and a great intro into the music making program “SonicPi”. Short presentations were given, with step by step guides for the participants to follow. We started with the classic “blinking LED” attached to the GPIO Pins, using python to program the LED. We moved on to using a “sense hat” and “explore hat”, devices that plug into the GPIO pins of the Raspberry Pi, and contain sensors or motor controllers etc. Again, short “step by step” introductions to the devices, how to use them and how to program them in python were given, with “playtime” of about 20 minutes to see what the participants could come up with.

We were also asked to participate in visualisations of how a breadboard works (how electricity flows through the board, wires, resistors and LEDs). We ended the day with a short “lets make something from the junk box and motor controllers” – with a mad dash to make something fun & eye catching with cardboard tubes, pipe cleaners and “bits n bobs”.

Day 2 was set for a full day of working in teams to use what we had learned in day one, but “bigger & better”, mixing up various inputs & outputs.

Martin had been looking forward to working on an OpenCV project he’d started, and our team worked n making a wheeled robot that could detect “traffic lights” (green = go!, red = stop!). We succeeded much to the surprise of some people’s experience of using OpenCV previously (in such a short space of time).

It was a really exciting, challenging & fun day, and overall experience. A room full of intrepid makers & educators, playing with the Pi & Kit, all making interesting “inventions”, which ultimately stimulated problem solving, creativity and communication (of ideas / progress etc).

Digital Maker CIC were really chuffed with the whole event, not only for just being accepted on this prestigious course, with amazing support & encouragement from the Pi Team, but that our workshops are set up in a similar fashion, giving us the confidence that we’re on the right lines when it comes to working with digital making, creative thinking, problem solving, communication and general “growth mindset” when creating interactive objects through prototyping & GPIO powered by a Pi (or even a MicroBit or Arduino).


If you can get yourself onto a #Picademy, we’d highly recommend that you do, we have learned a great deal from it, and we’ll be applying many lessons to our own practice & workshops in future.

Discussing OpenCV with
@LegoJames