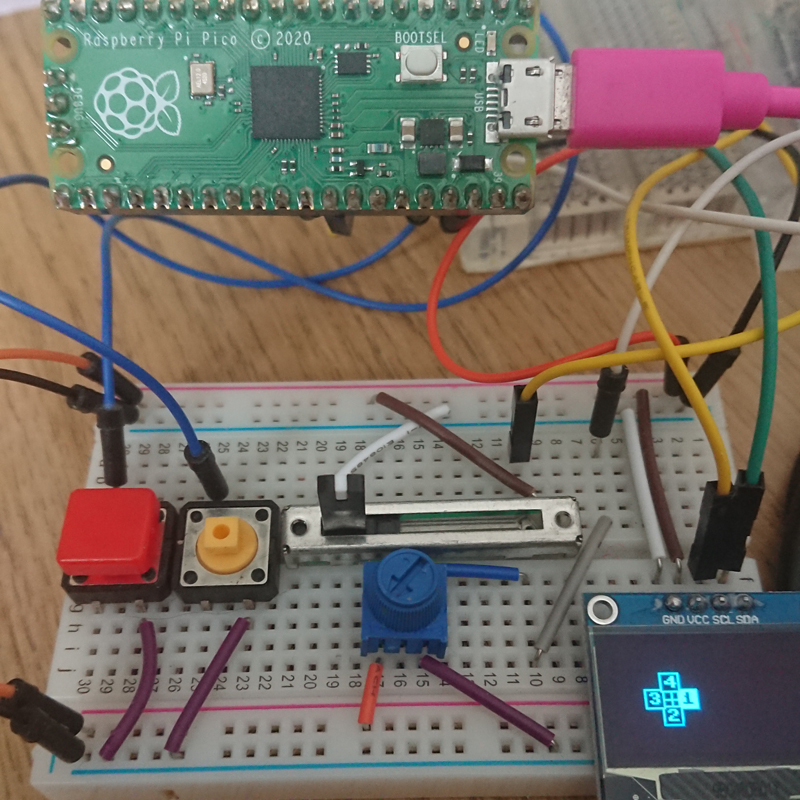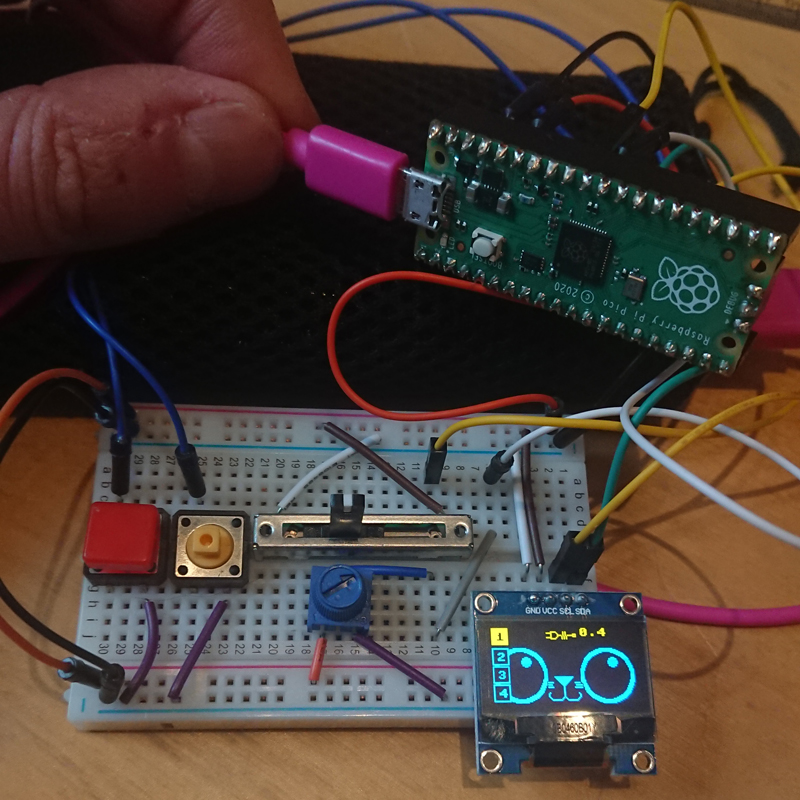
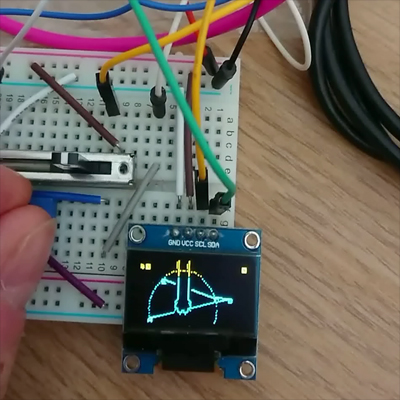
Phil is experimenting & learning how to control text / images on the #SSD1306 (128×64 px OLED display) attached to the #RaspberryPi #Pico – he’s ended up making a little game that involved moving a “Cat Paw” around with a slider & potentiometer and a button press “grabs” at what’s underneath the paw.
the code for the game is here
There are 8 “targets” to grab (you can change that by changing the line:
dots = 8 ) & the targets fly around with a random vector, each connecting to the next target with a line. The paw has a “hot spot” (the middle of the paw) and a “circle object” draws around it using the distance from it to the 1st target in the list (calculated by some simple trig in the utilities.py module, after an angle & radius has been calculated from the two objects’ positions)
Phil’s commented the main.py script as best he can, but, if you need any explanation, just holler!