Week 2 – making & adding a speaker!

We love a bit of sound! So, we’ve decided to add a speaker to the Pico set up…

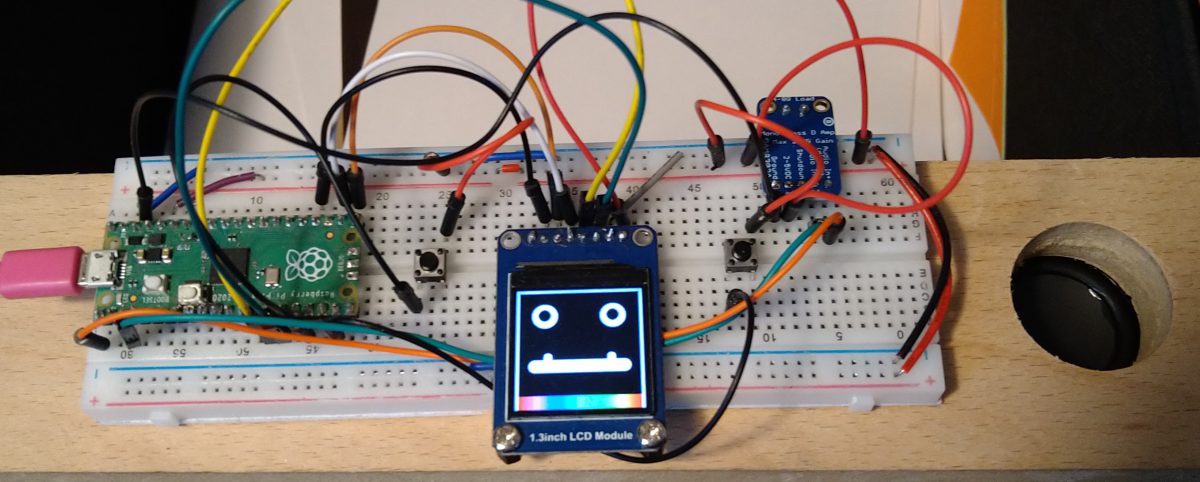
We love a bit of sound! So, we’ve decided to add a speaker to the Pico set up… But with the added fun of trying to make one from scratch!Martin’s DIY Speaker

Martin used some re-cycled motors for the insulated copper wire for the guts of a DIY Speaker & has had success! (all be it quiet, but, this project is about testing, trying, proof of concept etc)…

DIY Speaker!

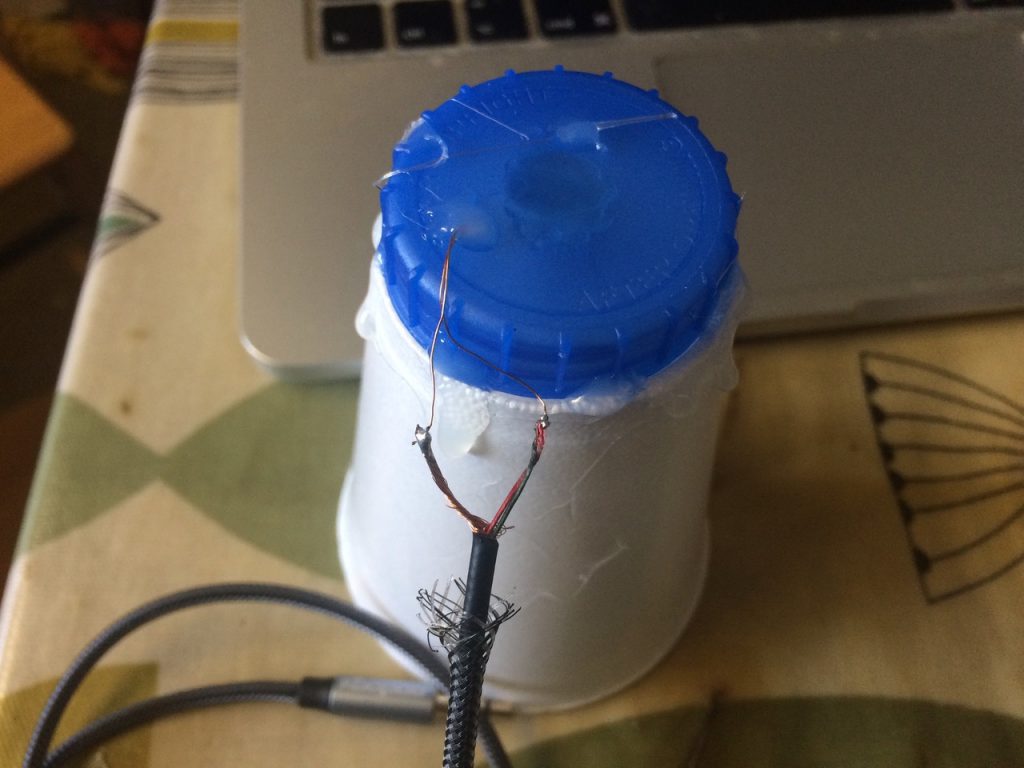
For the full documentation, & Step By Step Guide on how to make a speaker from a cup & some old motor / electronic parts, download “week 2” pdf sheets, with code & materials lists etc.Phil’s Set up uses a bought speaker & Ada Fruit Amplifier

Week 1 : Pico & OLEd + 2 buttons…

We started with a #raspberryPi #Pico & 240 x 240px OLED.

We started with a #raspberryPi #Pico & 240 x 240px OLED. Having worked with these as a base for the DinkyOSC we thought it would be a good place to start. We’ve added 2 buttons to the set up & control BMPs with adafruit_imageload & displayio . Below is a photo of the initial setup & we’ve included a PDF of the set up etc. here.

Raspberry Pi Pico + OLED screen / electronics buttons on prototyping breadboard.
Raspberry pi Pico + OLEd + Buttons + Breadboard